Maintaining a healthy, functioning kitchen faucet is essential for keeping your cooking and cleaning area safe as well as having access to consistent water flow.
Unusual situations such as low pressure or lack of even hot and cold water can be caused by blockages in the aerator, leading to frustration when you’re trying to get ready in the morning or prepping dinner at night.
Fortunately, it’s an easy fix if you know where and how to check your kitchen faucet aerator – all questions answered right here!
How Do I Know if My Faucet Aerator Is Bad?
If you suspect that your faucet aerator is bad, there are a few signs to look out for. One of the most obvious indicators is reduced water pressure when you turn on the tap.
This can be caused by a clogged aerator, which will prevent the flow of water through it. Another sign is an irregular stream of water flowing from your tap; this could also be a sign of a clogged aerator or other blockage in the system.
Additionally, if looking into your tap reveals any sediment or particles floating around in the water, it may be time to replace your faucet aerator.
Finally, if your faucet is producing air bubbles instead of a consistent stream of water, this could also indicate a problem with the aerator.
If you find that any of these signs are present in your faucet, it is important to replace the aerator immediately.
An old or damaged aerator can not only reduce water pressure, but also increase your water bill and risk contamination from debris and particles in the system.
Replacing your faucet aerator is a simple process that should be done regularly in order to maintain an efficient plumbing system.
If you’re still unsure about whether or not your faucet aerator is bad, you may want to contact a professional plumber to inspect it for you.
How to Check Kitchen Faucet Aerator?
The aerator is an essential component of your kitchen faucet. Checking it periodically can help you determine if it needs to be replaced or cleaned.
To check your kitchen faucet aerator, remove the aerator from the end of the spout and inspect it for debris or corrosion.
You may also want to try running water through the spout without the aerator installed as this will give you a better indication of its condition.
If there is anything stuck in the aerator, carefully clean out with a toothpick or similar tool. If there is any corrosion present, replace the aerator with a new one before reinstalling it onto the spout.
It’s also important to remember to tighten the aerator securely to make sure it doesn’t come loose.
You may also want to check the water pressure coming from the spout. If you notice a decrease in the flow of water, then it is likely that your kitchen faucet aerator has become clogged or worn down. Replacing it with a new one should restore proper water pressure.
Finally, inspecting your kitchen faucet aerator periodically will help ensure that it is working properly and helping to conserve water as intended.
Additionally, checking for any signs of corrosion or debris can help prevent problems before they become costly repairs.
Read more: what does a kitchen faucet aerator do
Where Is a Kitchen Faucet Aerator Located?
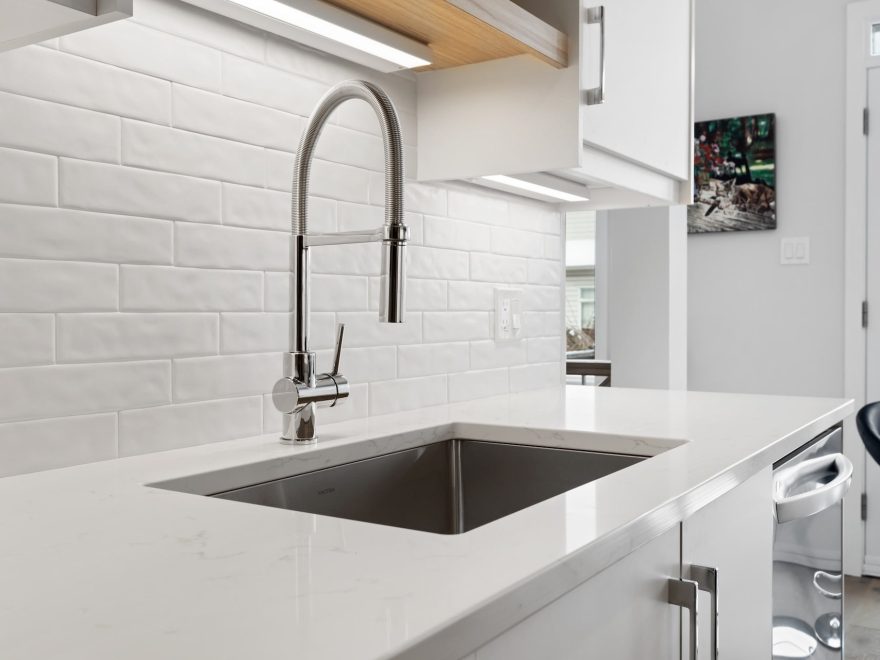
A kitchen faucet aerator is located on the tip of the faucet where the water comes out. It may be hidden under a metal or plastic cap that can be unscrewed with a small tool such as a flathead screwdriver.
The aerator screws onto the end of the faucet and is designed to mix air into the outgoing water stream, creating an even spray while reducing splashing. Installing an aerator can help conserve water without sacrificing performance, which means you save money on your utility bills while helping protect natural resources.
Additionally, some models incorporate filters to reduce contaminants in drinking water and improve its taste. Both newer and older style kitchen faucets are compatible with aerators so check yours to see if you already have one installed.
If not, replacement aerators can be purchased at most home improvement stores and online retailers. Before purchasing an aerator, identify the make and model of your faucet to ensure compatibility. The aerator should last several years with proper cleaning and maintenance.
It is recommended that they be checked periodically for calcium build up or other mineral deposits, which can decrease its performance over time.
Cleaning an aerator is simple; just unscrew it from the faucet, soak it in a vinegar-water solution for about 15 minutes, then brush off any loose particles with a soft bristled brush before reattaching it to the faucet.
Conclusion
There you have it! Those are three easy ways to tell if your faucet aerator is bad and needs to be replaced.
By following these steps, you can ensure that your kitchen faucet is working properly and efficiently.
Do you have any other tips for how to check a kitchen faucet aerator? Let us know in the comments below!

Hey! I’m Anne. Welcome to Kitchen Faucet Advice! Anne have started this blog to help happy families to get right kitchen faucet for their lovely kitchens. When she is free, she loves writing about her experiences and play with her dog!