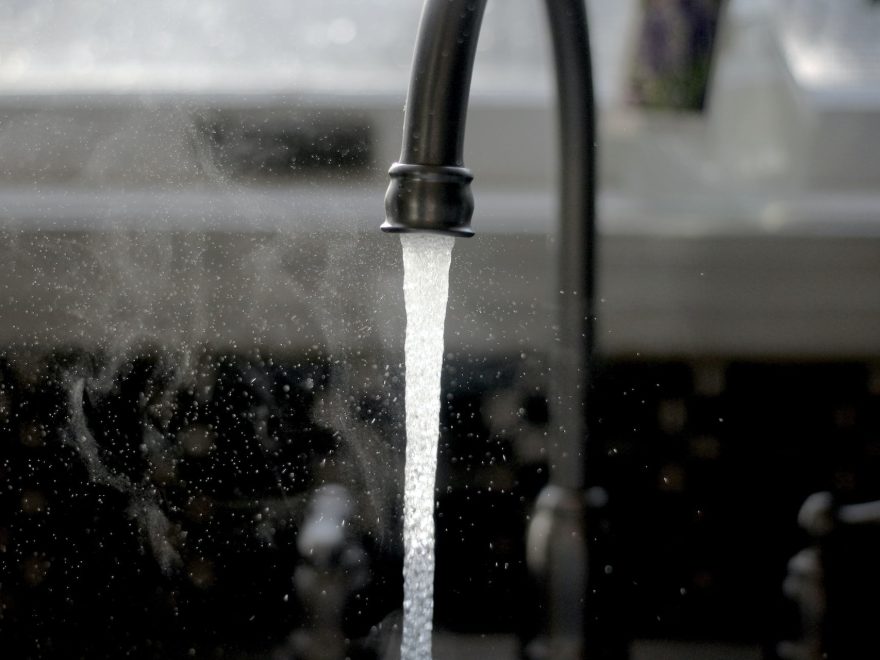
Are you plagued with a loose kitchen faucet spout o-ring? Can’t seem to figure out why the water is constantly leaking from the faucet handle? Don’t worry, it could be an easy fix!
In this blog, we’ll discuss how to tighten a loose kitchen faucet spout o-ring. We’ll go over all of the necessary steps involved in this process and provide tips and tricks for avoiding common mistakes.
At the end of this post, you should have a securely tightened spout ring that will prevent pesky leaks once and for all.
Read on if you’re ready to stop those annoying drops before they make their way down your countertop or sink!
How Do You Fix a Leaky O Ring on a Faucet?
The first step in fixing a leaking O Ring on a faucet is to identify why it is leaking. Depending on the cause of the leak, there are different solutions.
If the O Ring is too worn or damaged, you will need to replace it with a new one. First, shut off the water supply and remove the handle from the faucet.
Once removed, take out the old O Ring and clean any debris from inside the valve seat before installing a new one.
Make sure that you get an exact fit for your faucet’s model number before ordering a replacement part online or at your local hardware store.
Once you have identified that your O Ring needs to be replaced and have installed a new one, you may need to lubricate it.
Any household lubricant can be used for this purpose, but it is best to use a silicone-based lubricant specifically designed for O Rings. Apply the lubricant evenly around the circumference of the O Ring and reinstall the handle onto the faucet.
After replacing or lubricating your O Ring, turn on the water supply to test that there are no leaks coming from your faucet.
If all else fails, consult a professional plumber for further advice on fixing a leaking O Ring on a faucet. With proper maintenance and care, your faucet should continue working properly for many years after this repair is made.
How to Tighten a Loose Kitchen Faucet Spout O Ring?
To tighten a loose Kitchen Faucet Spout O Ring, follow these steps:
1. Turn off the water supply to the faucet.
2. Unscrew and remove any decorative covers from the base of the spout.
3. Locate the O ring and carefully pry it out with a flathead screwdriver or knife.
4. Apply lubricant (plumber’s grease) to both sides of new O-ring before slipping it into place.
5. Once in place, press down firmly on the O-ring until it is seated correctly against the faucet body.
6. Reassemble any decorative parts and screw them back into place using a screwdriver.
7. Turn the water supply back on and test to ensure the O-ring is securely in place and there are no leaks.
8. Replace any worn out washers or seals, as required, to keep your faucet functioning properly.
9. Rinse off any excess lubricant with a damp cloth before using the faucet again.
10. Enjoy your newly tightened Kitchen Faucet Spout O Ring!
Read more: How do I fix a loose kitchen faucet spout o ring
Conclusion
With this step-by-step guide, you should now know how to fix a leaky O ring on your kitchen faucet.
If the problem persists, it may be time to call in a professional. Remember, a little preventative maintenance can go a long way in prolonging the life of your plumbing fixtures! Thanks for reading and good luck!

Hey! I’m Anne. Welcome to Kitchen Faucet Advice! Anne have started this blog to help happy families to get right kitchen faucet for their lovely kitchens. When she is free, she loves writing about her experiences and play with her dog!