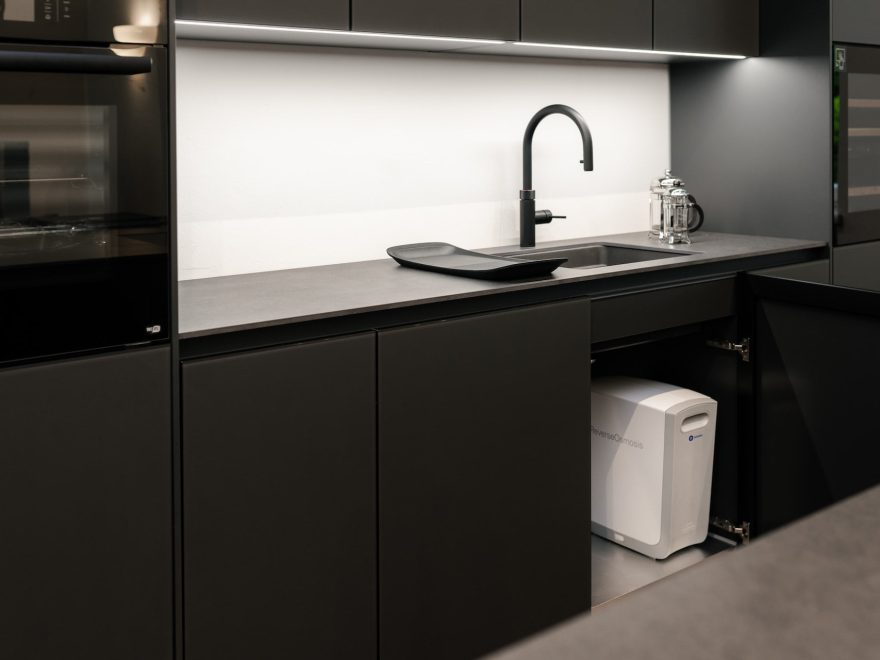
Are you the proud owner of a kitchen sink that is overdue for an upgrade? Have you been searching for replacement parts to breathe some new life into your old plumbing fixtures?
If so, then this is the perfect blog post for you! In this article, we’ll be diving deep into ceramic washers used in many types of kitchen tap installations and provide helpful tips on how they can help revive your beloved (but aging) taps.
So if you’ve been wondering when it might finally be time to invest in some much-needed repairs or renovations, read on – we’ve got all the information you need right here!
How Do You Stop a Ceramic Tap Dripping?
If you have a ceramic tap that’s dripping, the best way to stop it is by replacing all of the internal parts. The main components you’ll need to replace are the washers, nuts, and spindles.
These pieces can become worn over time and will cause your tap to leak. Before replacing any of these pieces make sure you turn off the water supply or shut off valve.
Once done, unscrew all of the nuts and bolts holding the handles together, carefully remove them and set aside in an organized place so they don’t get mixed up when reassembling.
Then loosen the retaining screw on top of each handle before pulling out the spindles from within.
Next replace the washers one at a time with new ones, making sure they are the same size and shape as the old ones. Follow this by reassembling the handles in reverse order and tightening all nuts securely.
Finally, you’ll need to turn on the water supply again and test your tap to make sure it’s no longer dripping.
If you find that it is still leaking then repeat the process but with a different set of washers and spindles until you find one that fits perfectly. With proper replacement of parts, a ceramic tap should stop dripping.
Read: Kitchen tap washer replacement
Is It Easy to Replace Kitchen Tap Ceramic Washer?
Replacing a kitchen tap ceramic washer is not particularly difficult, but it does require some basic plumbing skills and the right tools for the job.
Before attempting to replace a kitchen tap ceramic washer, you should make sure that you have all of the necessary parts and materials in order to complete the job properly.
First, you need to turn off the water supply at your home’s main valve before starting any type of repair work.
Once this step is completed, then you can begin taking apart your kitchen faucet. You will likely need specialized tools like a basin wrench or pliers in order to properly remove the nuts holding the faucet together.
Once all of the components are removed from your kitchen faucet, you can then locate the ceramic washer and remove it.
You should also take this opportunity to inspect the other parts of the faucet for wear and tear, such as the O-ring seals or valve seats. If any of these components show signs of damage or are worn out, they should be replaced as well.
Once all of the necessary parts have been removed and inspected, you can then install a new ceramic washer with relative ease.
Make sure to use plumber’s tape around any threads in order to get a watertight seal when reassembling your kitchen tap. After everything is tightened up properly, turn the water supply back on and check for any leaks around your sink before using your newly assembled tap.
Conclusion
As you can see, it is not very difficult to fix a ceramic tap dripping problem or replace the washer.
However, if you are unsure about your ability to do this job, it is always best to call in a professional plumber who will be able to carry out the work quickly and efficiently.
Do you have any other tips on how to stop a ceramic tap from dripping? Let us know in the comments below!

Hey! I’m Anne. Welcome to Kitchen Faucet Advice! Anne have started this blog to help happy families to get right kitchen faucet for their lovely kitchens. When she is free, she loves writing about her experiences and play with her dog!